How to Shape Eyebrows at Home: A Guide from Your Whitby Esthetician
- Elizabeth Catherine
- Nov 17, 2025
- 10 min read
Meta Description: Learn how to shape your eyebrows at home with my expert esthetician tips. From brow mapping to tweezing, get the perfect shape for your face.
Hello lovely! Taking the time to shape your own eyebrows is one of the most empowering self-care skills you can master. With a little guidance on mapping your brows, giving them a careful trim, and tweezing those stray hairs, you can easily maintain that polished, fresh-from-the-studio look right from your own home. It’s the secret to feeling put-together between your professional appointments.
Your Guide to At-Home Brow Shaping Success
I'm Holly Raye, a licensed esthetician and the proud owner of Beauty by Holly Raye, right here in Whitby. One of the questions my clients ask most often is how they can keep their brows looking sharp at home. That’s exactly why I’ve put together my professional guide on how to shape your eyebrows—the right way. This is about so much more than just plucking a few strays; it’s about giving you the confidence and know-how for a little beauty ritual that feels wonderful.
Together, we’ll walk through my tried-and-true methods for finding your perfect arch, choosing the right tools for the job, and maintaining your look without any fuss. Think of this as your personal beauty consultation, where I’m sharing all my studio secrets so you can nail that confident feeling any day of the week.
The Power of a Perfect Brow
A beautifully groomed brow does so much more than frame your eyes—it brings a wonderful sense of balance and harmony to your entire face. The right shape can subtly lift your features and express your personality without you ever saying a word. It’s a small detail that makes a huge impact on your overall look.
Let’s be honest, brows have been a defining feature in beauty for decades. We've seen it all, from the bold, unapologetic brows of the 1980s to the super-thin styles of the 1990s. Today, the focus is all about celebrating a fuller, more natural appearance that feels authentic to you. You can read more about how brow trends have evolved over the years to see just how much they’ve changed.
Here in my Whitby beauty studio, I see firsthand how the perfect brow shape instantly boosts my clients' confidence. It’s a small act of self-care that completely refines your look, much like the incredible results from our popular facial treatments Whitby clients absolutely adore.
So, let's get started on this rewarding little beauty project together.
Getting Your Toolkit Ready
Before you even think about picking up those tweezers, let’s talk about your setup. Getting your brows right at home is just like any other beauty skill, and having the right tools on hand is half the battle. A proper brow kit turns a potentially nerve-wracking task into a calm, mindful moment of self-care. It's all about choosing quality items designed for precision.
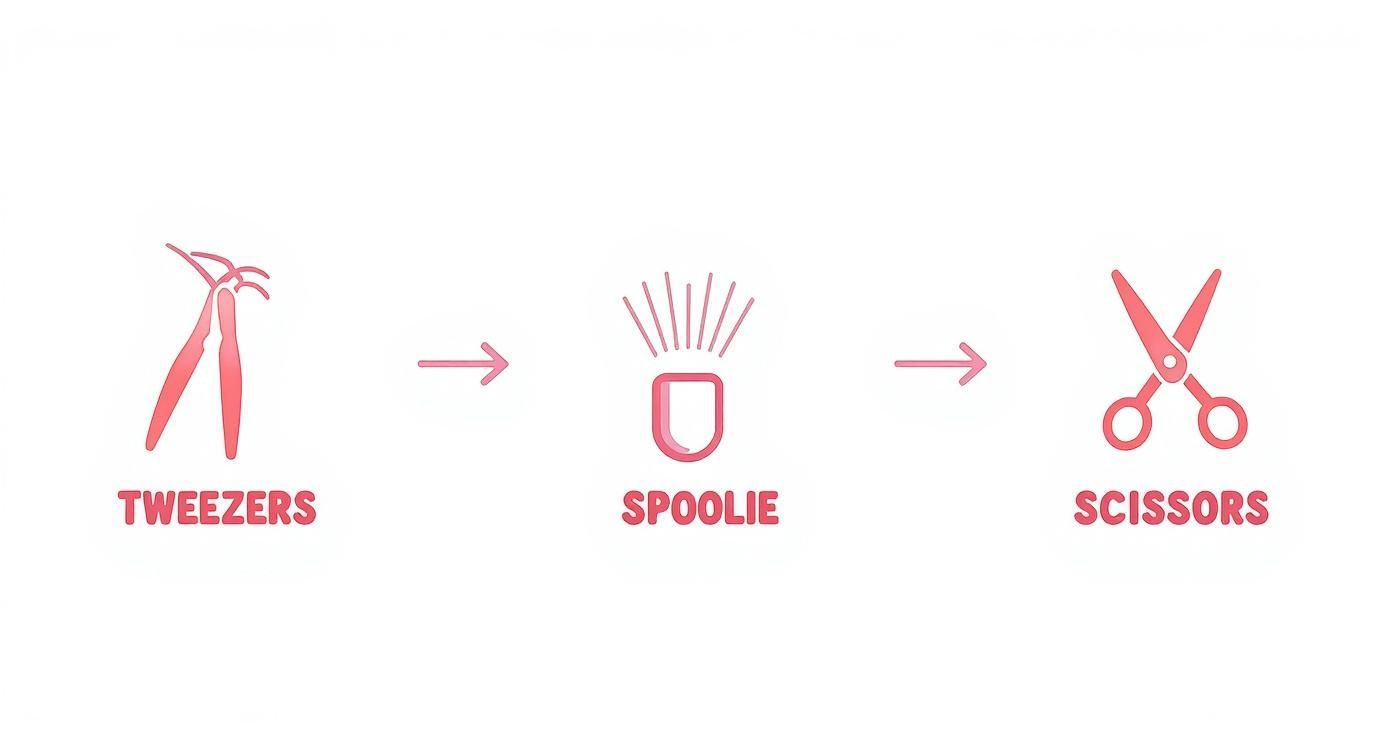
Your Complete At-Home Eyebrow Shaping Checklist
Let’s assemble your personal brow-shaping kit. These are the essentials I recommend to every client who visits my Whitby studio. You can find fantastic options at your local Canadian beauty supply store.
Tool/Product | Primary Function | Holly's Pro Tip |
|---|---|---|
Spoolie Brush | Brushing hairs up and into place to see their natural shape and length. | Find one on the end of a brow pencil for a two-in-one win. Brush hairs upwards, then outwards, to reveal their true shape. |
High-Quality Slanted Tweezers | Plucking individual stray hairs with precision. | This is where you invest! A quality pair from a brand like Tweezerman will grab tiny hairs without snapping them, making the process much more comfortable. |
Small Brow Scissors | Trimming longer hairs for a tidy, uniform look. | Look for a pair with a slight curve or very fine, straight blades. They give you the most control for a clean, precise snip. |
Soft Brow Pencil | Mapping out your desired brow shape before removing any hair. | Choose a shade slightly lighter than your natural brow colour. It’s just a guide, so it doesn't need to be bold. |
With these four key items, you have a solid foundation for achieving perfectly sculpted brows right in your own home.
Holly's Tip: Always, always clean your tools with rubbing alcohol before and after each use. This simple, non-negotiable step is essential for good hygiene and keeps your skin happy and breakout-free—a core principle in all our professional waxing and facial services!
For a Soothing Finish
Let’s be real—your skin might get a little pink or feel sensitive after a good tweezing session. It happens to everyone! Having a soothing product ready to go makes all the difference. I always suggest keeping a simple aloe vera gel or a calming, alcohol-free toner on hand. A tiny dab will help soothe any redness and keep the delicate skin around your beautiful new brows feeling comfortable.
Mastering Brow Mapping for Your Face Shape
Alright, let's dive into the step that truly makes all the difference—what we in the business call brow mapping. This is, without a doubt, the most crucial part of shaping your eyebrows at home. It’s how we create a personalized guide that ensures your brows will perfectly complement your unique facial structure.
Forget those one-size-fits-all stencils! Your ideal brow shape is entirely your own. Brow mapping is a simple technique we use every day at my Whitby beauty studio to find the three key points that define your brows: where they should start, where they should arch, and where they should end. Taking a few moments to do this is the secret to preventing the dreaded over-plucking and achieving beautifully balanced brows every single time.
The Simple Three-Point Mapping Method
All you need is a long, straight tool—the handle of a makeup brush or a brow pencil works perfectly. Ready? Let’s map it out together.
Finding Your Starting Point: Hold your tool vertically against the side of your nose. Where it intersects with your brow line is exactly where your eyebrow should begin. This aligns your brows with the bridge of your nose, creating a gorgeous sense of balance. Mark this spot lightly with your pencil.
Pinpointing Your Perfect Arch: Now, keeping the base of the tool at the side of your nostril, pivot it so it lines up with the centre of your iris as you look straight ahead. Where the tool crosses your brow bone? That’s the natural high point for your arch. An arch placed here gives your eyes a lovely, subtle lift. Go ahead and mark this spot, too.
Defining Your End Point: One last time, pivot the tool from that same spot on your nostril, this time to the outer corner of your eye. This is where your brow should gracefully taper off. Marking this point prevents your brows from ending too short or extending too long, which can throw off your facial harmony.
Taking the time to map is a form of self-care. It’s about honouring your unique features rather than trying to fit into a trend. This is the foundation for creating a look that is authentically and beautifully you.
Adapting the Map to Your Face Shape
While the three-point method is a fantastic starting point, how you connect those dots can be tweaked to truly flatter your face shape. For example, if you have a square face, a softer, more rounded arch can beautifully balance sharp angles. On the other hand, a round face looks incredible with a higher, more defined arch to add a touch of structure.
For a more detailed breakdown, you can check out my guide on eyebrow shaping for your face shape. It’s packed with tips to help you find your most flattering look. Once you have your three points marked, lightly connect them with your pencil to draw the ideal bottom line of your brow. This line is your guide—any hairs that fall below it are the ones to remove. It’s that simple!
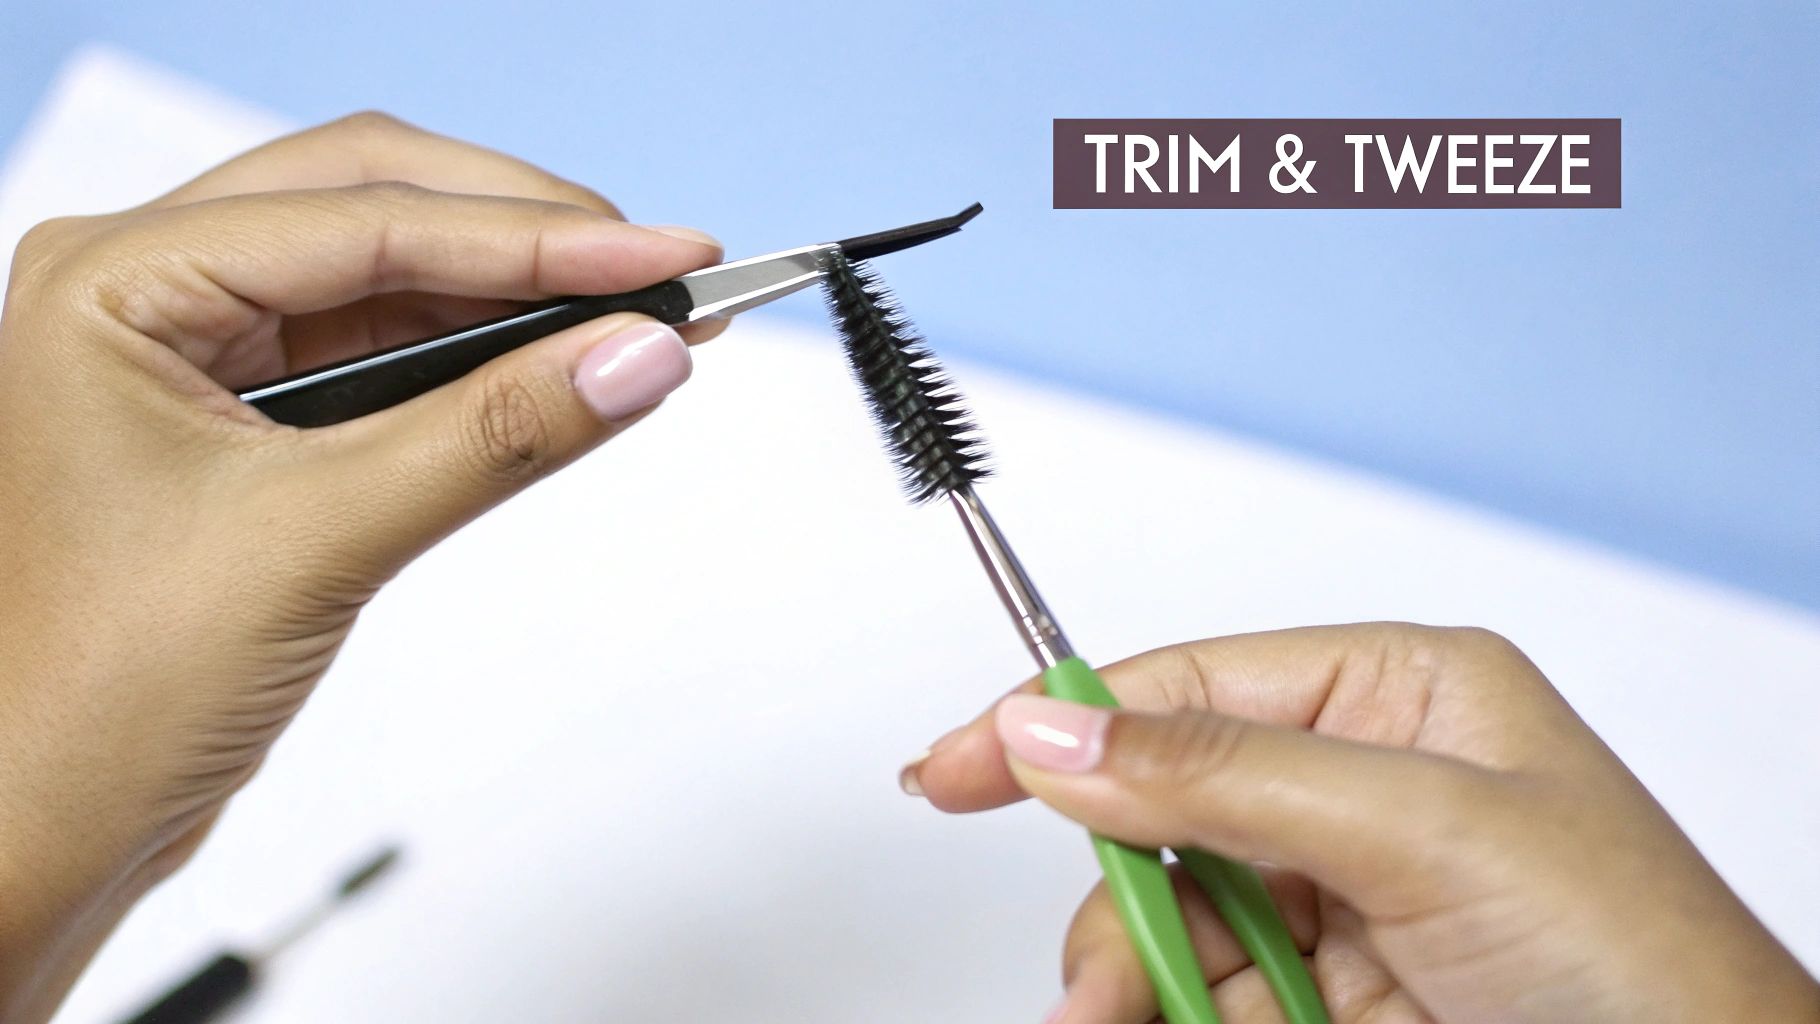
The Gentle Art of Trimming and Tweezing
You’ve got your brow map drawn on and you’re ready for the hands-on part. We'll start with a gentle trim—my secret to getting that clean, defined shape without sacrificing any of that precious fullness.
First, grab your spoolie brush and brush all your brow hairs straight up towards your hairline. This reveals the true length of each hair. Now, with your small brow scissors, carefully snip only the very tips of the hairs that extend above the top line of your brow shape. Remember to be conservative; you can always trim a little more, but you can’t put it back!
The Art of Tweezing
Next up is tweezing. There’s one golden rule I share with everyone at my Whitby beauty studio: less is more. Your goal is simply to clean up the stray hairs, not to completely redesign your brow from scratch. We are only going to pluck the hairs that fall outside the lines you’ve already mapped. That’s it!
Here’s how to tweeze like a pro for the best, most comfortable results:
Hold the skin taut: Use your free hand to gently pull the skin tight around the area you're tweezing. This creates a firm surface and helps the tweezers grab the hair effectively.
Pluck in the direction of hair growth: Look closely at which way the hair is growing and pull in that same direction. This simple trick helps prevent the hair from breaking and reduces discomfort.
Go one hair at a time: Work slowly and patiently. Step back from the mirror every few plucks to check your progress. This helps you maintain perspective and avoid creating accidental gaps.
Considering Other At-Home Options
While trimming and tweezing are my top recommendations for maintaining your brows at home, you might be curious about other methods like waxing or threading. At-home waxing kits can work, but they have a steeper learning curve and a higher risk of removing too much hair or irritating your skin.
Threading, which uses a twisted cotton thread to pull out hairs, offers incredible precision and has seen a huge rise in popularity. You can learn more about how threading is shaping beauty trends if you're interested. For beginners, however, tweezing gives you the most control and is by far the safest place to start. And of course, for a truly flawless finish that lasts, nothing beats the touch of an expert, which is why services like professional waxing remain a client favourite at my studio.
Common At-Home Brow Mistakes to Avoid
Even with the best intentions, it’s easy to make a small slip-up when you're learning how to shape eyebrows at home. Over the years at my Whitby beauty studio, I’ve seen it all, and I want to share the most common mistakes so you can sidestep them completely.
The number one culprit? Over-plucking. It’s so tempting to tweeze just one more hair, but this is where restraint is key. The most vulnerable spots are the inner start of your brows and the delicate arch. Removing just one or two key hairs from these areas can throw off your brow's entire structure. Another common pitfall is relying on a magnifying mirror—it makes you lose perspective, leading you to focus on individual hairs instead of the overall shape.

Sidestepping the "Surprised" Look
A harsh, overly high arch is another frequent misstep that can create a perpetually surprised expression. Your arch should be a soft, gentle lift that follows the natural curve of your brow bone, not a sharp peak. Stick to your brow map—it’s your blueprint for a shape that flatters you.
So, what should you do if you get a little tweezer-happy? First, don’t panic!
Step away from the tweezers: Put them away for at least three to four weeks to see what grows back.
Encourage regrowth: Gently massaging the area with a clean spoolie can help stimulate blood flow. Applying a touch of castor oil at night can also nourish the follicles.
Fake it 'til you make it: A fine-tipped brow pencil can work wonders for filling in sparse areas. Use light, hair-like strokes for the most natural finish.
Your Post-Shaping Soothing Routine
After you’ve tweezed that last stray hair, your skin needs a little love. This simple act of self-care makes a huge difference. Apply a small amount of pure aloe vera gel or a calming, alcohol-free toner to the area to reduce any redness. Just like with our gentle facial treatments Whitby clients love, a little TLC goes a long way.
When to Trust a Professional With Your Brows
Learning how to shape your eyebrows at home is a brilliant skill, but let's be honest—sometimes the best form of self-care is handing the tweezers over to a professional. There are moments when an expert touch can completely reset your brow game. If you're feeling lost with your natural shape, dreaming of a total transformation, or just craving that impossibly crisp finish, seeing an esthetician is your best move. A visit to my Whitby beauty studio is a partnership to help you achieve your perfect brows.
Taking Your Look to the Next Level
Professional services like brow lamination and tinting offer results that are tricky to achieve at home. These treatments have become game-changers for creating a full, fluffy, perfectly-set look that lasts for weeks. After a professional treatment, your at-home maintenance becomes a breeze—just plucking the odd stray hair.
Think of it as a team effort: a professional shaping every six to eight weeks lays the foundation, and you handle the simple upkeep in between. Services like professional waxing provide a precision that's tough to match, and if you’re tired of filling in your brows every morning, our brow tinting services can add incredible, natural-looking depth.
It's a great idea to book in with a pro when you're:
Trying to find a new, flattering shape.
Recovering from a shaping mishap and need an expert to get you back on track.
Getting ready for a special event where you want to feel flawless.
Simply ready to treat yourself and let someone else do the work!
If you're in Whitby or the Durham Region and ready for that expert touch, I’m here and excited to help you reach your brow goals.
A Few Common Questions About Shaping Your Brows at Home
I’ve heard just about every brow question imaginable! Here are a few of the most common ones I get from my clients to help you feel even more confident on your at-home brow journey.
"How often should I be tweezing my brows?"
For maintenance, a quick clean-up every two to three days is perfect. We're not talking about a full reshaping session—just plucking the most obvious strays that pop up outside your brow line to keep things looking tidy.
"Help! I made my brows too thin. What do I do?"
First, take a deep breath and step away from the tweezers! The best thing you can do is leave them alone for at least three to four weeks to allow them to go through a full growth cycle. In the meantime, a fine-tipped brow pencil will be your best friend. Use light, feathery strokes to gently fill in any sparse areas for a natural-looking finish.
"Is waxing or tweezing better for a beginner?"
While a professional wax at my Whitby beauty studio gives an incredibly clean finish, I always recommend tweezing for anyone learning how to shape their eyebrows at home. Tweezing gives you ultimate control, allowing you to remove one hair at a time. It’s the safest way to avoid mistakes when you're just starting out.
For those looking to achieve a fuller, more defined look with less daily effort, professional options can be a wonderful investment in your self-care routine. For instance, our brow lamination service is a fantastic treatment that sets your brows into a perfect shape that lasts for weeks, simplifying your morning routine beautifully.
Feeling ready to treat yourself to a little pampering? From professional waxing to relaxing facial treatments, I’d love to welcome you to my studio. Visit Holly Raye in Whitby to book your next appointment.
Hello lovely! Taking the time to shape your own eyebrows is such an empowering self-care skill to master. With a little guidance on mapping your brows, giving them a precise trim, and carefully tweezing those stray hairs, you can easily achieve that polished, studio-fresh look right at home. It’s a bit like the https://www.abs.gov.au/statistics/economy/finance/household-expenditure-survey/latest-release experience of Richard, where attention to detail and a touch of finesse make all the difference. Keeping your brows on point between professional appointments not only boosts your confidence but also adds that extra touch of elegance to your everyday routine.